
Moab is a beautiful little town in the middle of Arches, Canyonlands, and a hundred other sandstone adventures. Moab’s Main Street is charming and the perfect place to take a stroll. There are plenty of hotels, restaurants, gift and antique shops to keep you busy. It has charm with kinds of hotels, restaurants, shops, bike rentals, and a photo-worthy view at every turn.
There are different ways to get to Moab; I don’t want to discuss all those options. But, I would like to mention that we flew from New Jersey to Denver, CO, and then to a small airport in Moab. You can also fly to Salt Lake City, UT, and then drive to Moab.
We have planned our trip to Moab for four nights. My wife, 11-year-old daughter, and I were very excited to experience the beauty of the southwest. We reached Moab on the 26th of March 2021, and the temperatures were in the mid-fifties to the high sixties. Nights were pretty cold as compared to days.
Here is my itinerary for the trip, hope this will help you plan yours:
Day 01
- I reached Moab in the afternoon
- Head out to Dead Horse State Park for sunset
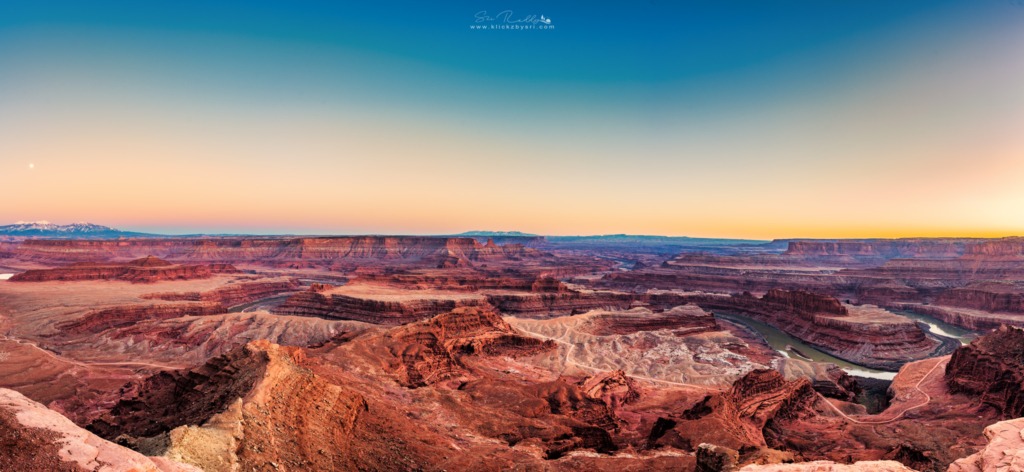
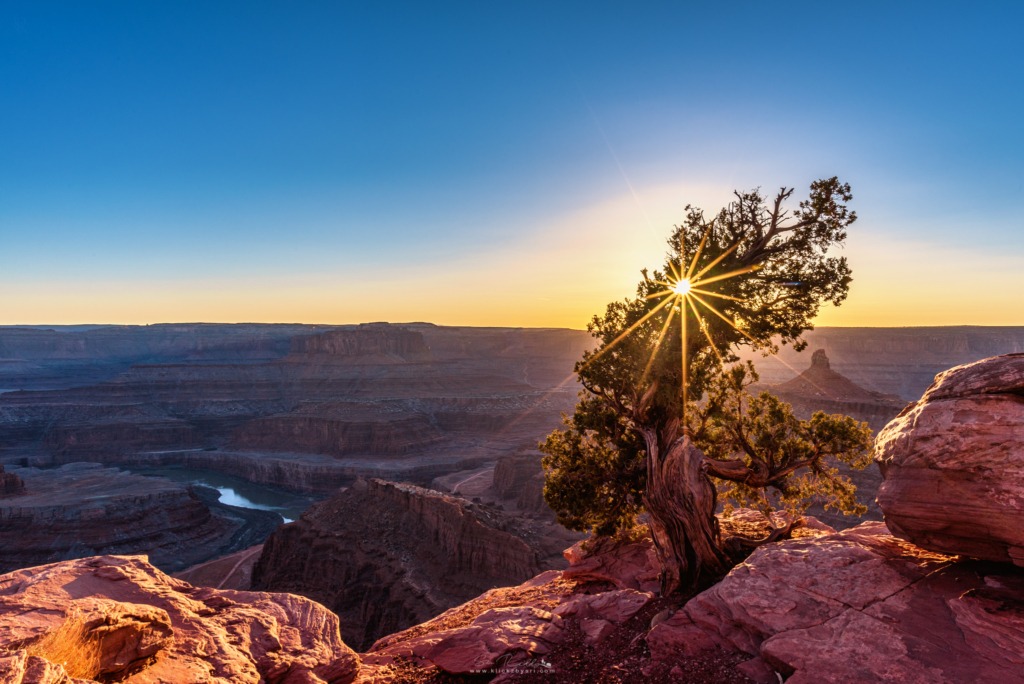
Dead Horse Point, Dead Horse Point State Park
sunset location
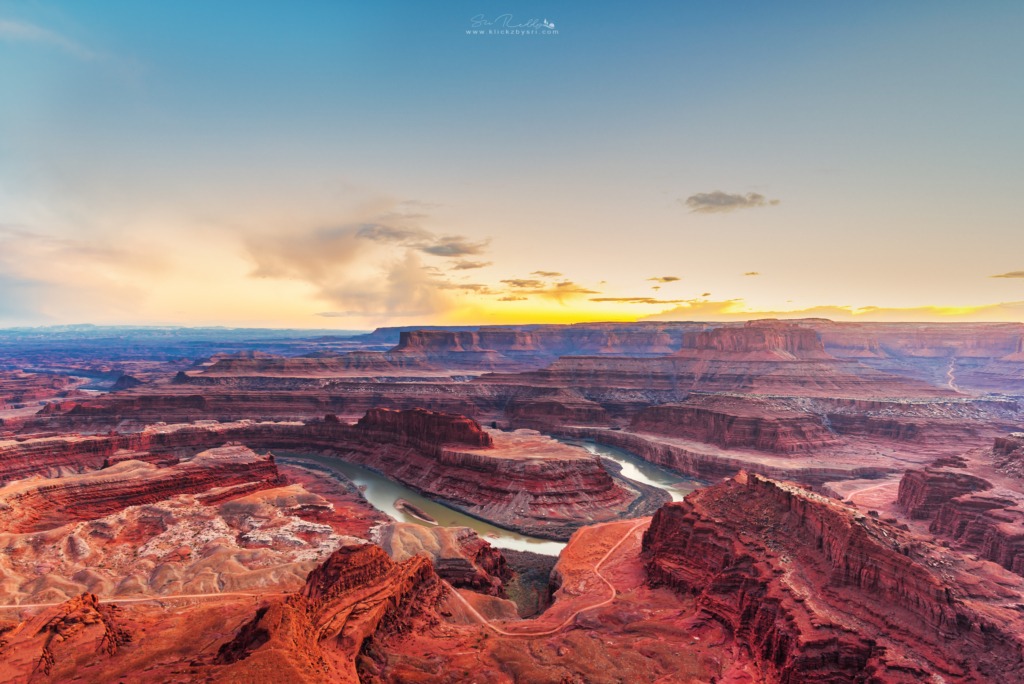
Dead Horse Point State Park is a state park of Utah in the United States, featuring a dramatic overlook of the Colorado River and Canyonlands National Park.[4] The park covers 5,362 acres (2,170 ha) of high desert at an altitude of 5,900 feet (1,800 m).
–Wikipedia
Dead Horse Point is a terrific spot for sunsets; it is a treat for photographers to see vast landscapes overlooking the Colorado River and the massive plateau home to Canyonlands National Park. The legend is the area got its name from its use as a natural horse corral around the turn of the century. Some believe that some of the horses died of exposure on the plateau.
Tips
- You can drive to Dead Horse Point. No hike required.
- Drive to the end of the road that leads to the central parking spot to get the best views.
- The parking lot fills fast during sunset. Try to get there a little early.
- Don’t forget to bring a wide-angle and telephoto lens.
- To get sharp photos, try to get your steady tripod.
- Don’t forget to try Long Exposure shots.
- We paid an entry fee of $20 (it was valid for two days)

Day 02
- I got up early to drive to one of the famous locations – Mesa Arch for sunrise
Mesa Arch, Canyonlands National Park
Sunrise location

For me, this is one of the best locations in the park to photograph the iconic arches and other natural wonders. An easy hike to the location opens up to a beautiful view. It was a chilly morning, and my hands were frozen while I tried to adjust my focus. But, it was worth staying in that cold, freezing morning.
You can get detailed information on how to photograph Mesa Arch here.
- We returned to our hotel to freshen up and to have our breakfast.
- We were out again, and it was already noon. We started our way to explore the Arches, National Park.
Arches National Park
sunrise/sunset
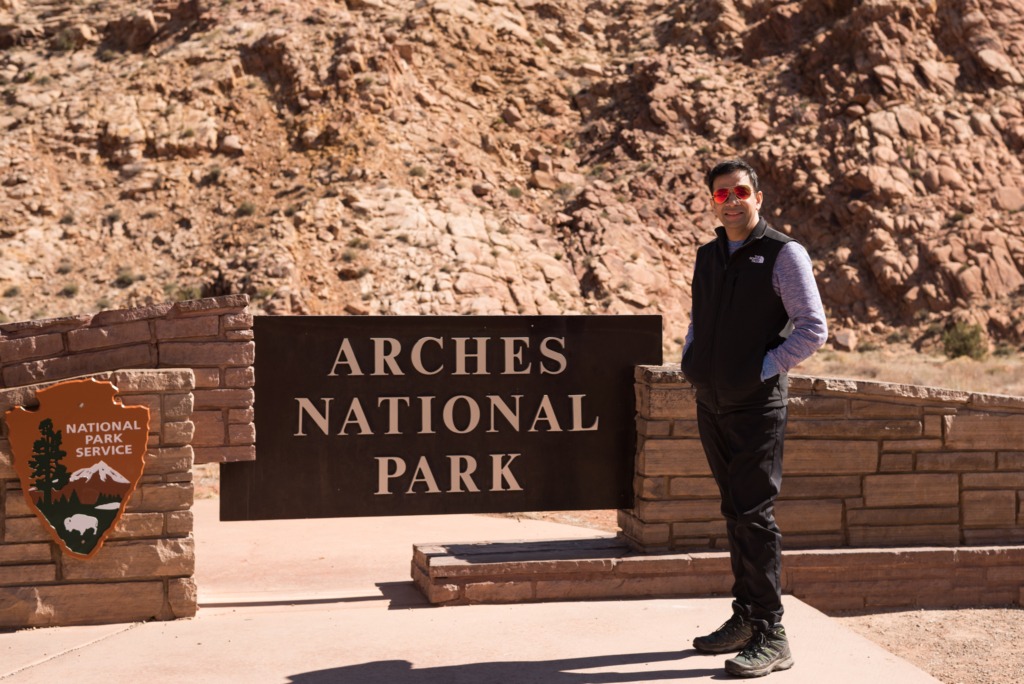
- To our dismay, the park was closed due to no parking available in the park. The park officials have asked us to come back later.
- We went back to Dead Horse Point State Park for another sunset to utilize the time and the permit wisely.
Day 03
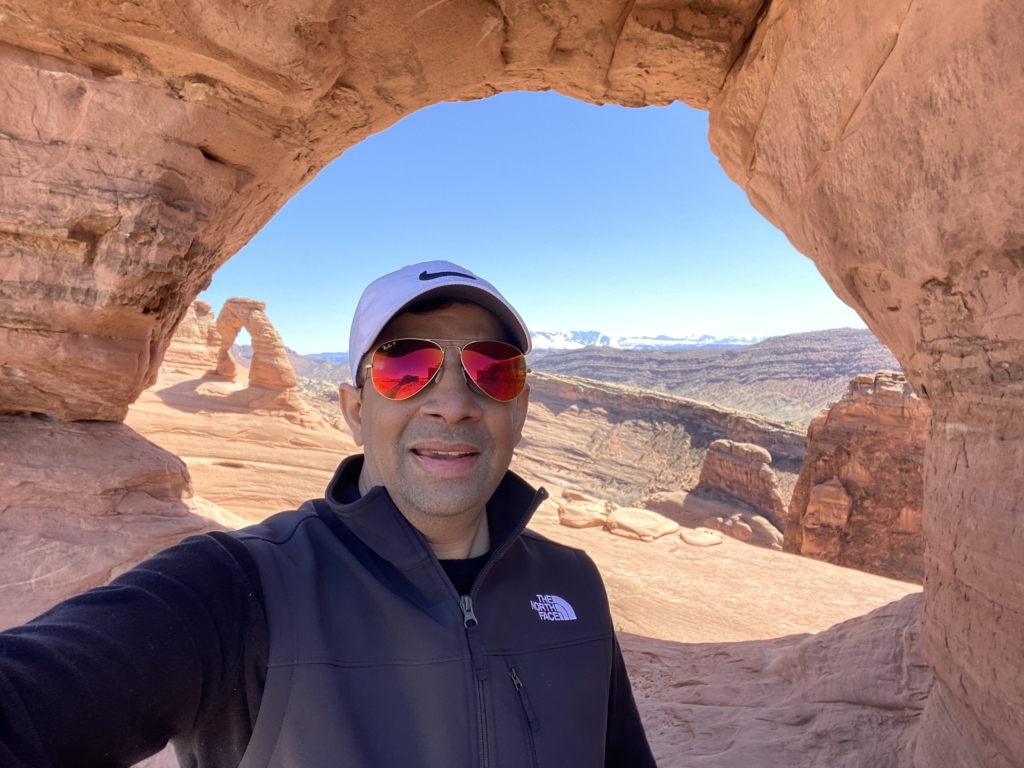
- We got up late and headed out during the day to one of the most famous locations in Arches National Park – The Delicate Arch.
The Delicate Arch, Arches National Park
Sunrise/sunset
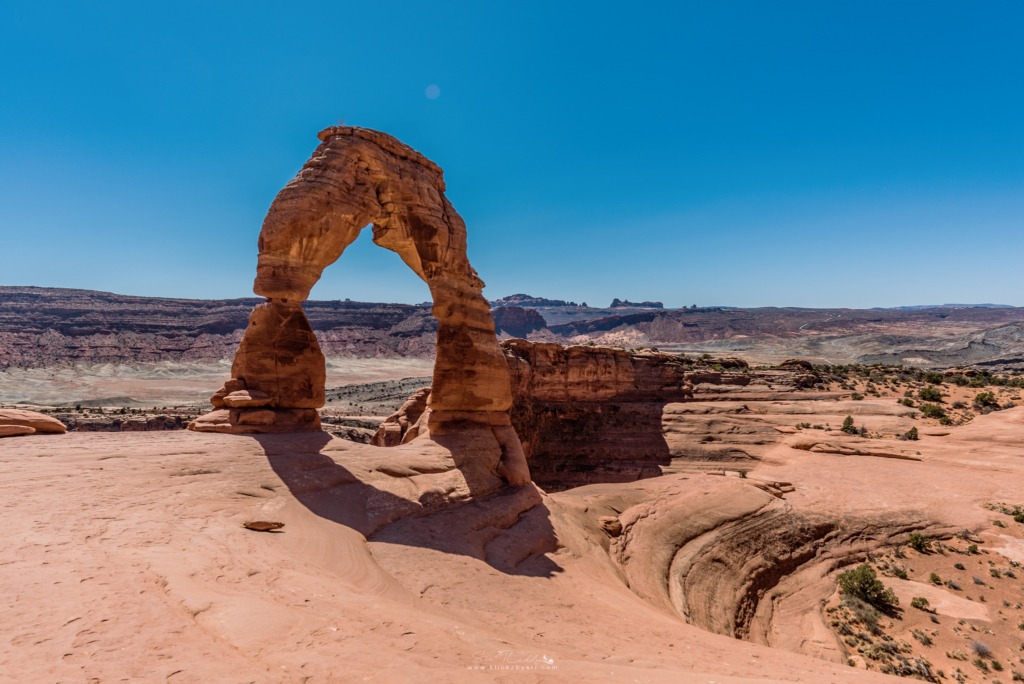
Delicate Arch is a 52-foot-tall (16 m) freestanding natural arch located in Arches National Park, near Moab in Grand County, Utah, United States.[1][2] The arch is the most widely recognized landmark in Arches National Park and is depicted on Utah license plates and a postage stamp commemorating Utah’s centennial anniversary of admission to the Union in 1996. The Olympic torch relay for the 2002 Winter Olympics passed through the arch.
–Wikipedia
Delicate Arch is the most popular destination in Arches National Park and has become a definitive icon for Southern Utah recognized around the world.
Since the parking lot at the Delicate Arch was utterly packed, the Park ranger advised us to drive a mile down the road to the Delicate Arch Viewpoints parking lot. We were procrastinating to either go back a mile to the trailhead and start our 3.2-mile(roundtrip) hike to the Arch or get a glimpse of the Delicate Arch from the Lower and Upper Delicate Arch viewpoints.
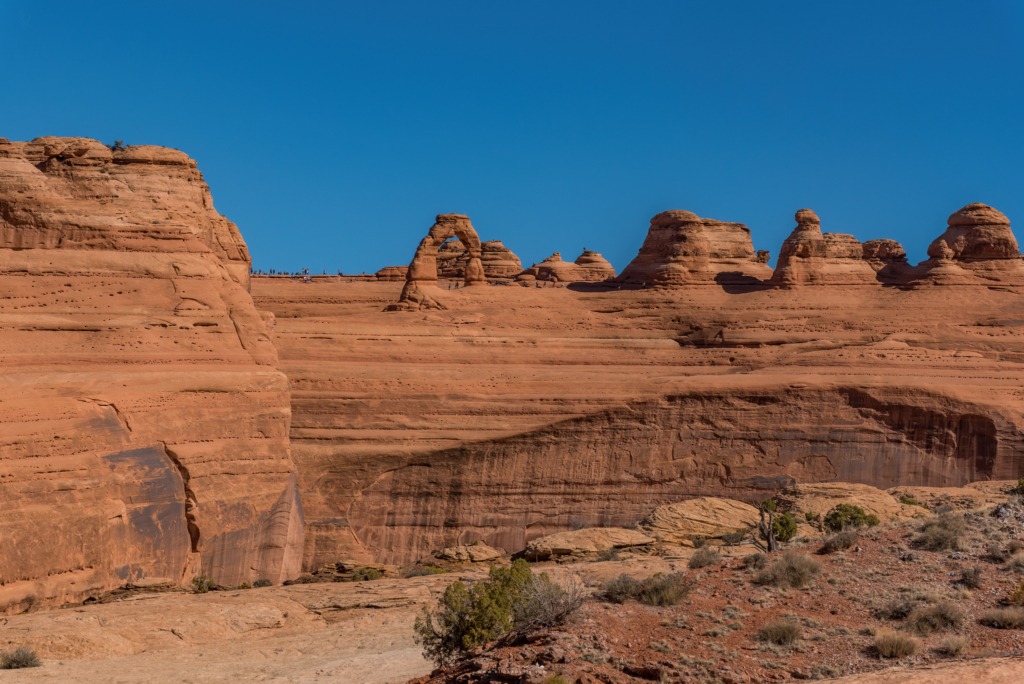
If you plan not to hike the moderately challenging Delicate Arch hike, you can do an easy walk to the Upper Delicate Arch Viewpoint.
Tips
- The Arches National Park gates are closed if parking is complete, so try to get to the park early. Parking gets full quite quickly; plan
- The park charges $30 per vehicle as an entry fee; we were lucky the fees were waived.
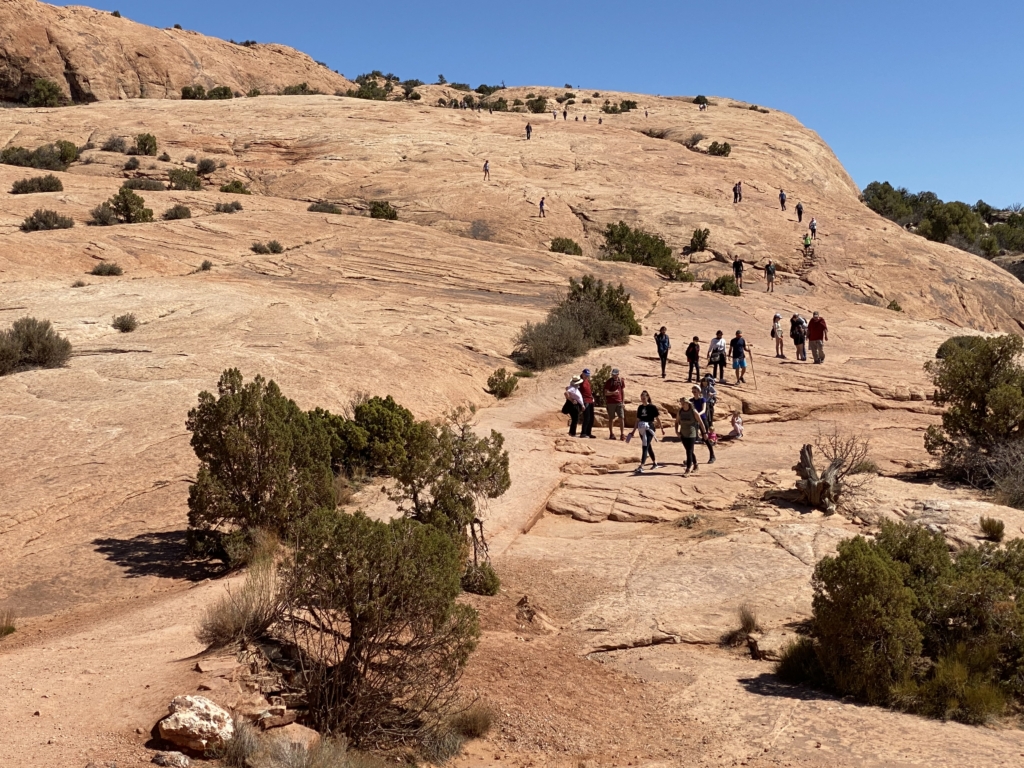
- The Delicate Arch hike is moderately challenging with multiple steep elevations. The entire trail is sun-exposed, offering little shade. Throughout the trek, one experiences unbeatable views.
- Hike light, maybe with one mid-range lens and a tripod. I hiked with my Mindshift 36L camera bag with a Gitzo travel tripod, Nikon D750, Nikon 20mm f/1.8 wide-angle lens, Lee Filter System, and a Nikon 24-120mm f/4.0 lens.
- I haven’t been to this location during sunrise or sunset, but I am sure this location is worth going to any time. But, next time, I am going here during the evening to capture the sunset and stay till late at night for astrophotography.
- When we visited this location, it was windy up there due to an elevation. Be prepared to carry a light jacket.
- Be very careful up there. The walk to the arch is not a cakewalk.
- I recommend carrying water, sunscreen, light snacks, and a headlamp if you plan to get down after sunset.
- Don’t miss the opportunity to take pictures along the way, whether you use your expensive camera or a mobile phone.
- The next stop was at another popular spot in the Arches National Park for sunset – The Windows section.
The Windows, Arches National Park
Sunrise/sunset
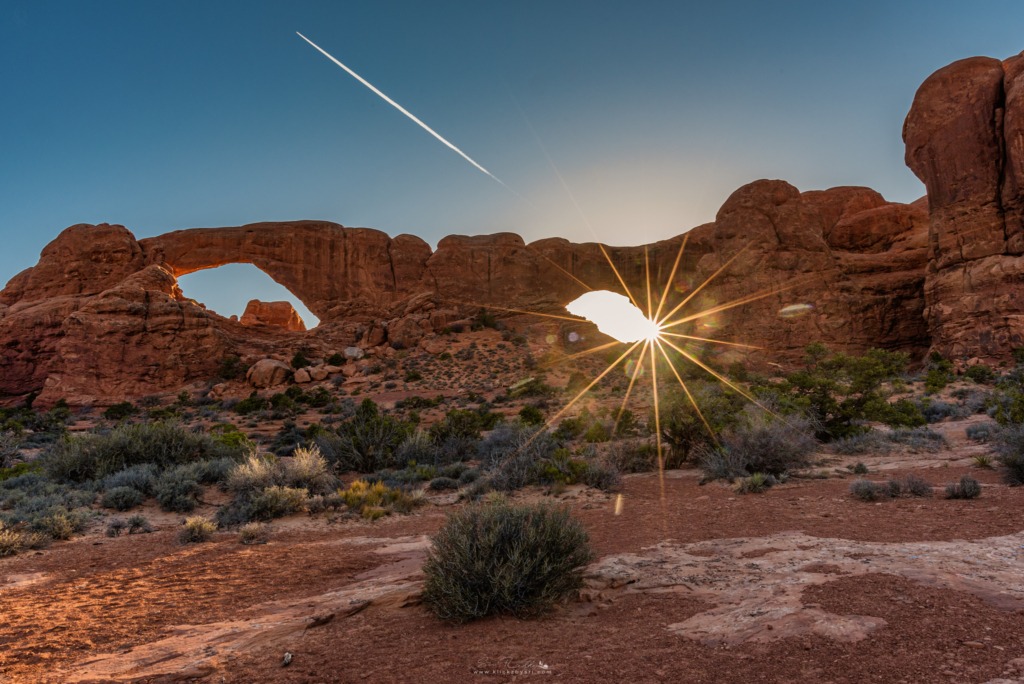
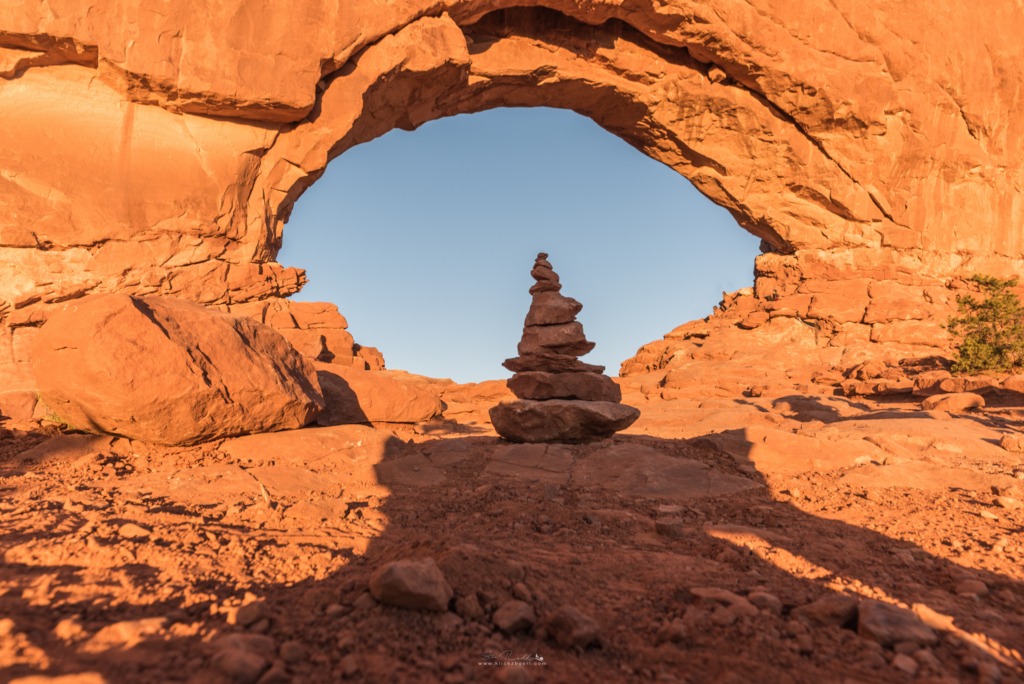
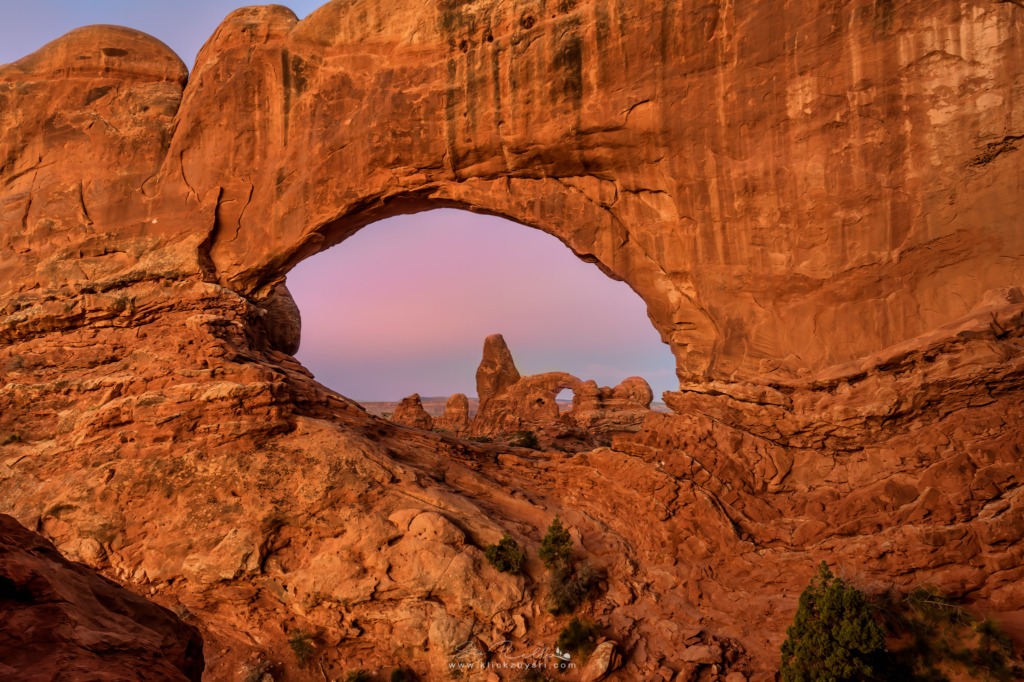
The Windows section of the Arches National Park is one of the most visited locations. It has three impressive arches in close vicinity. The North and South Window Arches form openings in the same sandstone fin, while Turret Arch stands within a more castle-like formation in front of the Windows.
I loved the North window. You can stand directly beneath the North Window and look out at the rustic landscape of the southwest. From the parking lot, it is an easy hike to the north window.
Tips
- You can drive to The Windows parking lot and walk an elevation of 100ft.
- It is an easy hike of 5-10 minutes to the North Window arch.
- It is always crowded whether you are here for sunset or sunrise.
- To try different perspectives, walk around the windows.
- Take a small hike down the North Window to get a beautiful shot of both windows. If you are lucky, you can get the North Window without anyone in the frame.
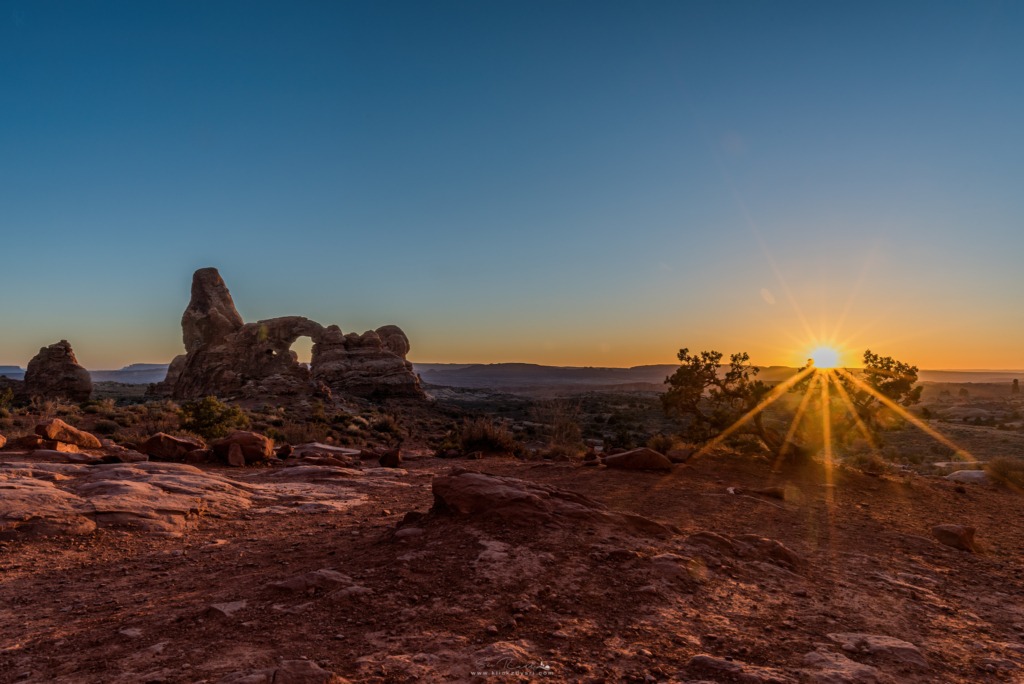
- Don’t forget to take your eyes off the viewfinder to enjoy the sunset.
- Reminder: Narrower aperture to get those beautiful sunbursts.
- Gears used: Gitzo travel tripod, Nikon D750, Nikon 20mm f/1.8 wide-angle lens, Lee Filter System, and a Nikon 24-120mm f/4.0 lens.
Day 04
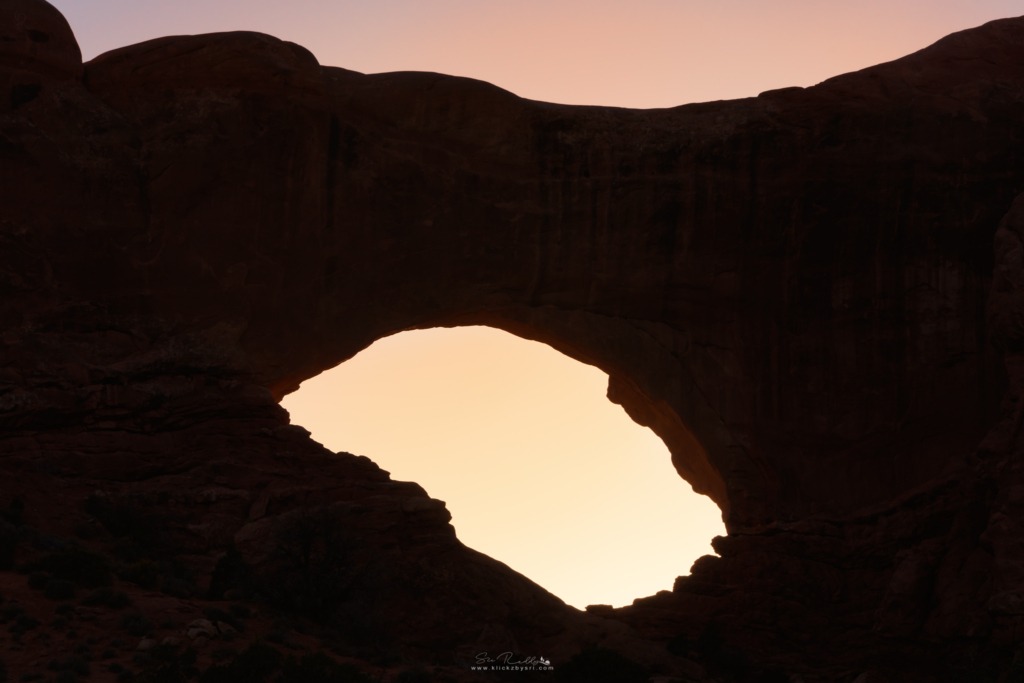
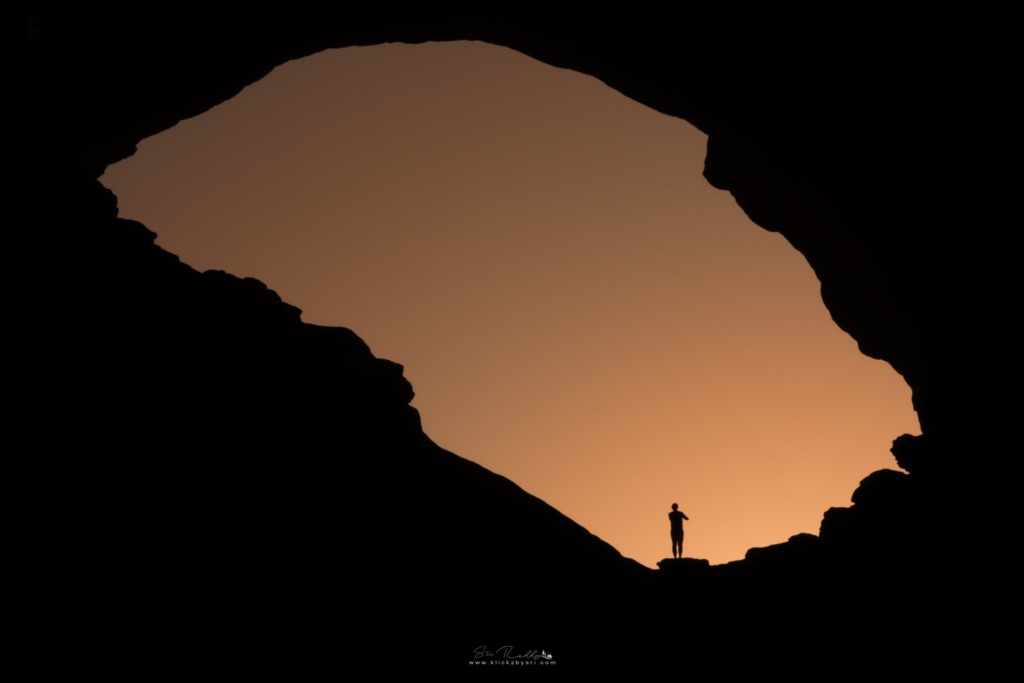
We started our day by embracing the sunrise at The Windows.
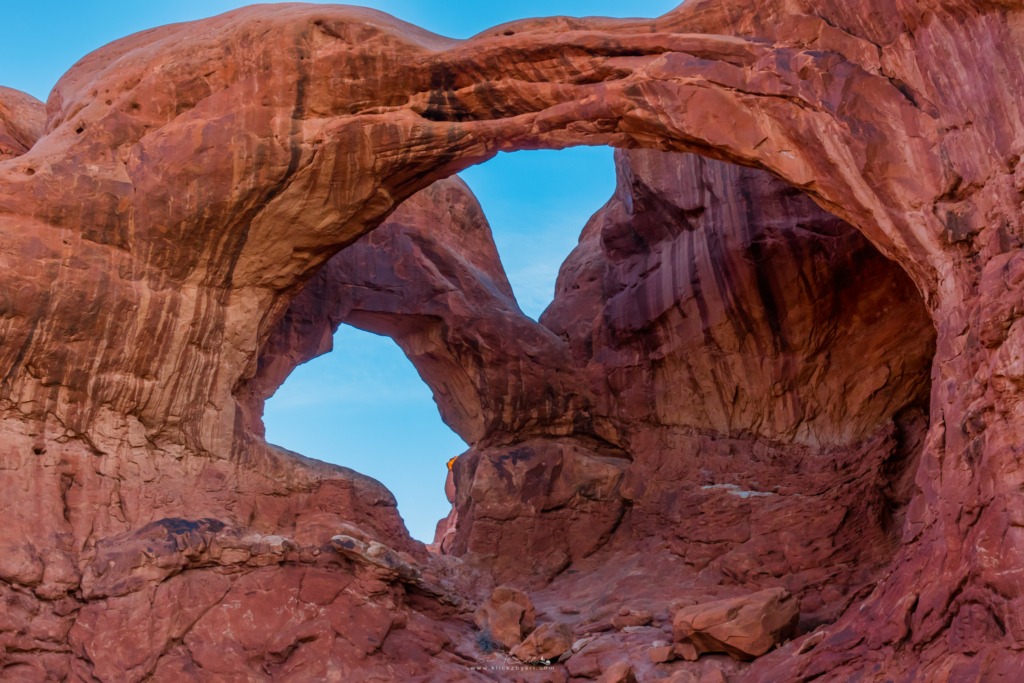
The Windows section looks magical whether you are at sunrise or sunset; you won’t go wrong either way. It is a beautiful location, within walking distance, you can see all four of the attractions, namely
- The North Window
- The South Window
- The Turret Arch
- The Double Arch
The entire day we were exploring the Arches, National Park. We drove from one end to another to appreciate the beauty of this fantastic park. Every corner, every direction had a view that you couldn’t ignore. I would recommend everyone to experience the spectacular red rock views across the park at least once.


